Craning the World’s Fastest Installing Elevator Into Place
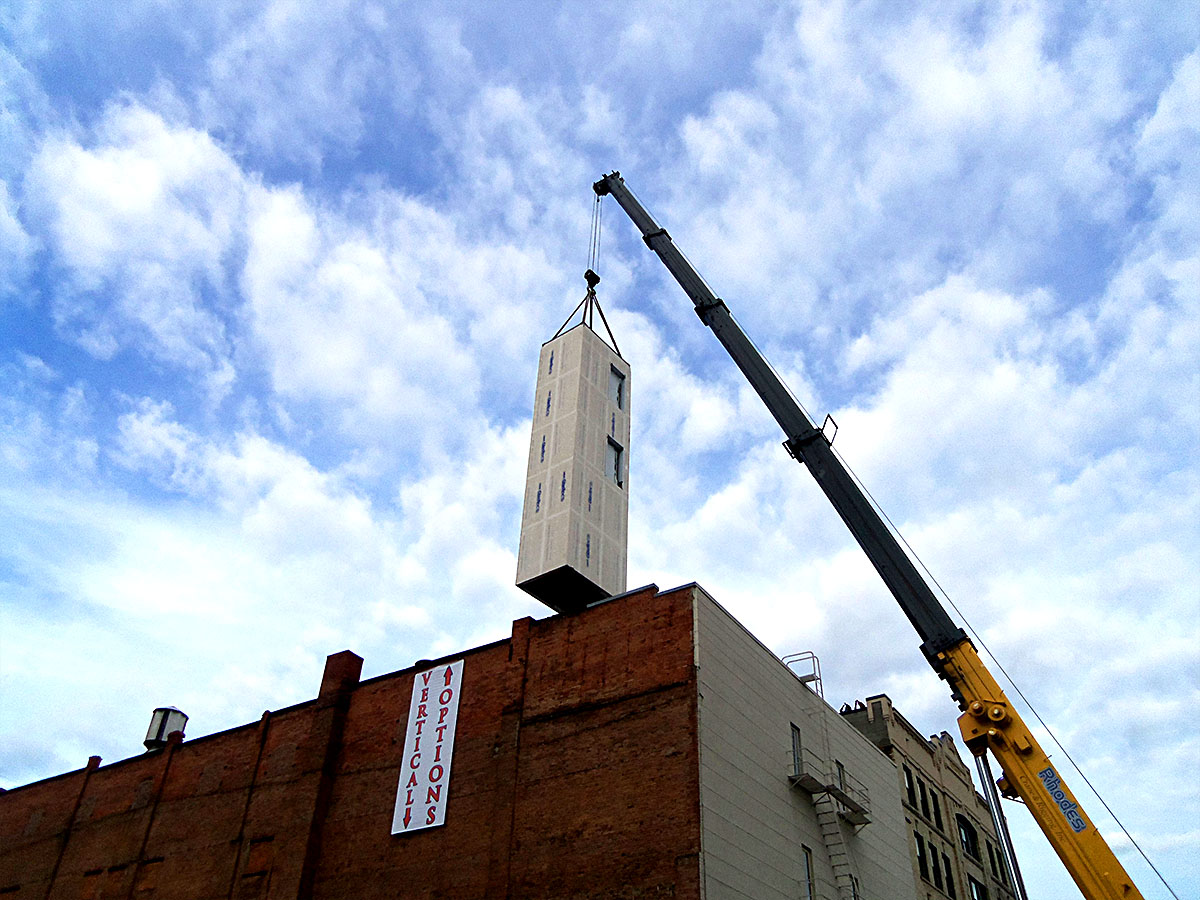
- Two cranes: A larger one lifts the top end and uprights it, while a smaller one lifts the bottom end, then gently lowers it to the ground.
- One crane with 2 independently operating hooks that do what 2 cranes would do. (see video below) Make sure there is room to line up the crane and truck to prevent twisting.
- One crane that lifts the tower off the truck, then sets it on the ground, re-rigs to the top only, and tilts it upright.
- If only one crane is used, you will need to have a flat surface on site to set it on.
All of these options are acceptable. The first two save a small amount of time but may cost a bit more.
Determine Crane Size
The crane company needs to determine the crane size. To do this, they need:
- Tower dimensions: Look up on your approval drawings.
- Tower weight: Below you will see a chart that indicates the estimated weight of a standard tower. For specific weight estimates regarding Machine Roomless or traction elevators, contact PME for a more concise weight estimate. Keep in mind that for traction elevators, the total weight of the elevator can increase due to counterweights within the unit. A modular machine room weighs 5-6,000 lbs.
Site Access
The crane company needs to visit the site with the general contractor. The GC will show them specifically where they can set up the crane for elevator installation and where the elevator will be going.
How long is the crane needed?
Four hours is all you need when craning in the world’s fastest installing elevator. This will cover the time for crane setup, rigging, tower set and plumbing, unrigging and crane pack up.
Add one hour for each additional tower.
Hydraulic Tower Weights
| Hoistway Length | Weight WF/WFR | Weight SF/SFR | Weight SLF/SLFR |
|---|---|---|---|
| 25' | 19000lb | 20000lb | 21000lb |
| 30' | 20000lb | 21000lb | 22000lb |
| 35' | 23000lb | 24000lb | 25000lb |
| 40' | 26000lb | 27000lb | 28000lb |
| 45' | 27500lb | 29000lb | 30000lb |
| 50' | 29000lb | 30000lb | 31000lb |
Traction Tower Weights
- Section with car and machine: add 4000 lbs to the weight on the hydraulic chart
- Section with counterweights: add 7000 lbs to the weight on the hydraulic chart
Crane Setting Process
The day of the installation arrives! Here are the steps to the complete placement:
- Truck arrives, untarps load
- Crane removes modular machine room or pallet with power unit & controller
- Rig head and tail of hoistway
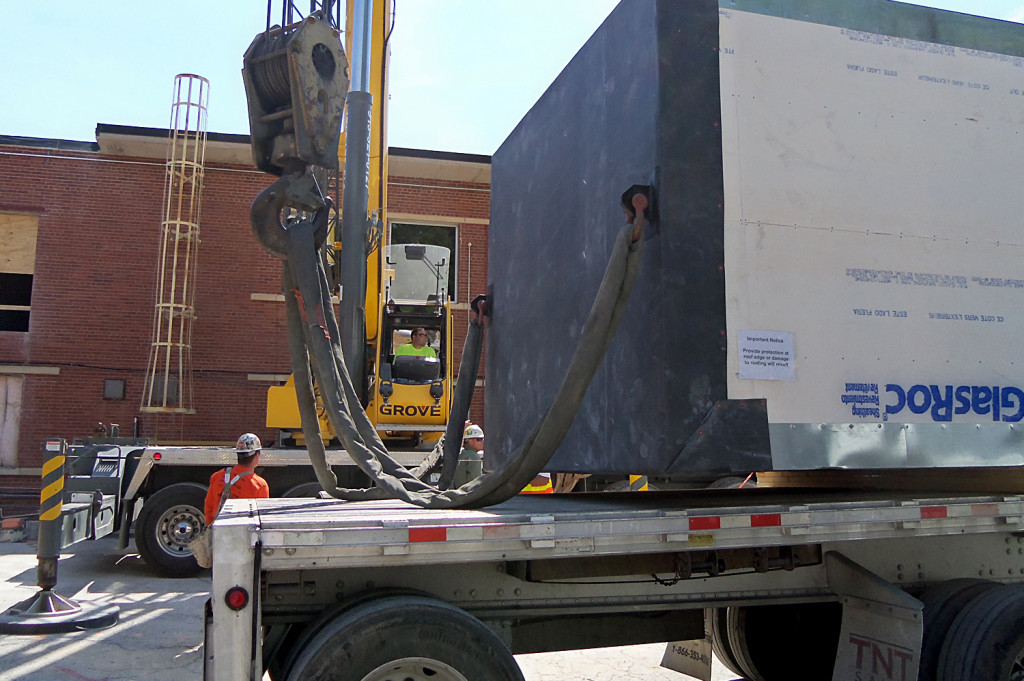
- Crane lifts hoistway off truck bed
- Truck drives away or crane swings hoistway off truck bed (depends on job site layout)
- Crew removes shipping brackets
- Crane upends hoistway
- Rigger removes lower end rigging
- Crane swings hoistway into pit
- Crew and crane communicate hoistway at right height (too high better than too low), bolt down
- Crew removes upper rigging
- Crane sets modular machine room (if ordered)
Below you will find rigging instructions for elevator installation and other information that will make the process go smoothly.
The set consists of three steps: lifting the tower off the truck, uprighting the tower, and setting the tower in the pit. Also, make sure proper rigging is provided.
How is the elevator rigged?
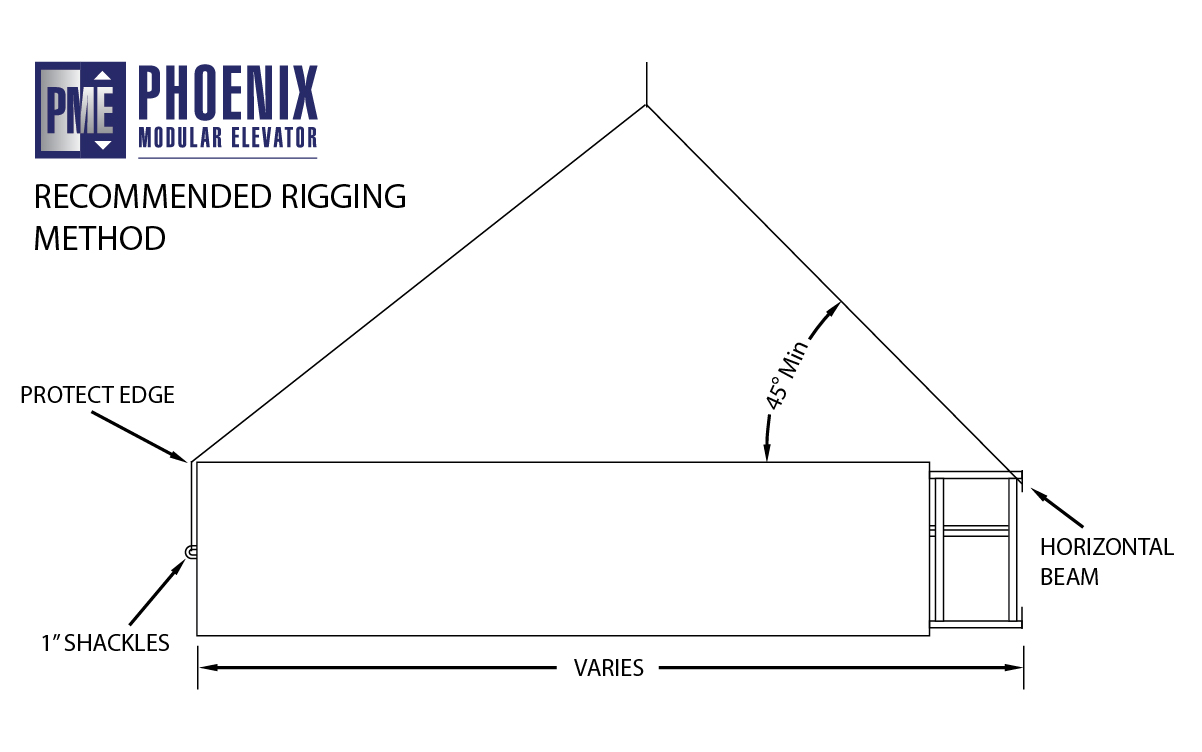
This diagram shows the recommended rigging for elevator installation.
Lifting the Tower
Craning the modular elevator into place is an easy process, but should be completed in a systematic way to ensure safety and to retain the structural integrity of the modular elevator. While it may sound difficult, this process has been completed hundreds of times. The total weight of the modular elevator can range between 19,000 and 40,000 lbs. depending on the total size and means of conveyance. Please use appropriate sized straps, cables and clevises and ensure all safety precautions are observed.
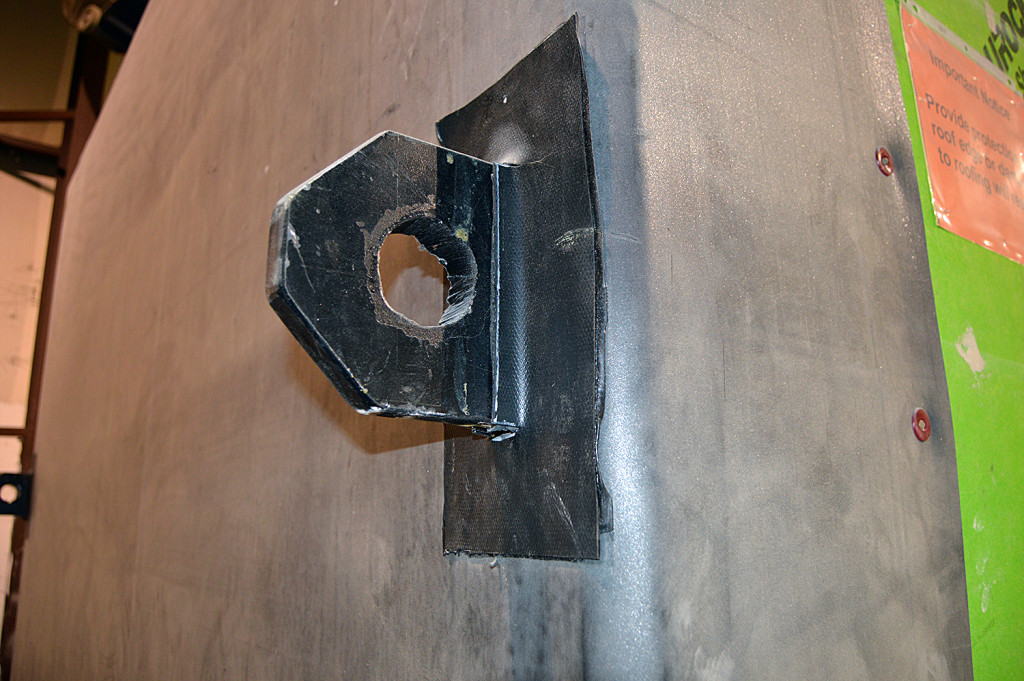
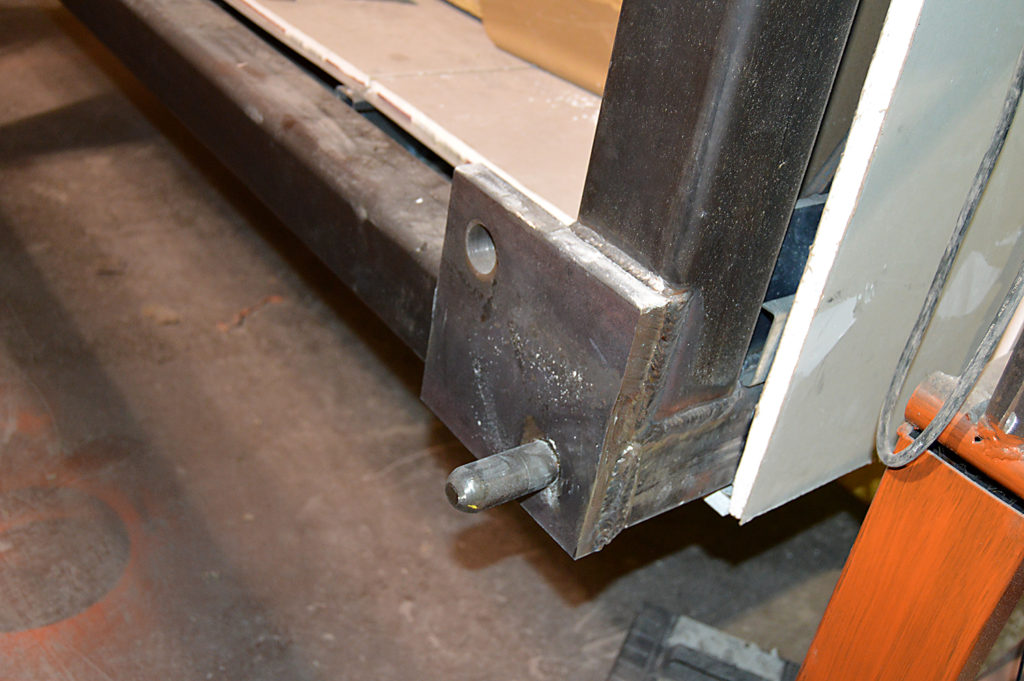
Top of tower rigging: There are two large lifting lugs at the top of the modular elevator tower designed to handle the weight of the entire hoistway. Place a clevis through the 2″ holes on each lifting lug.
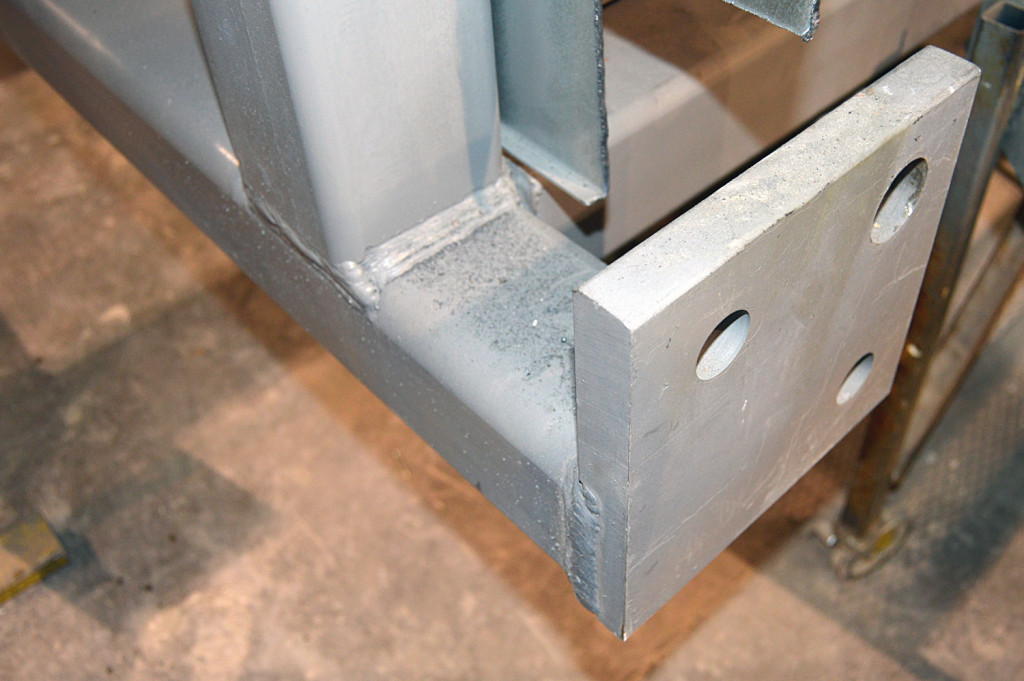
Bottom of tower rigging: Next comes attaching the crane to the bottom of the hoistway. Place Straps around columns just above base plates. With the straps in place, you are ready to lift the elevator off the back of the truck.
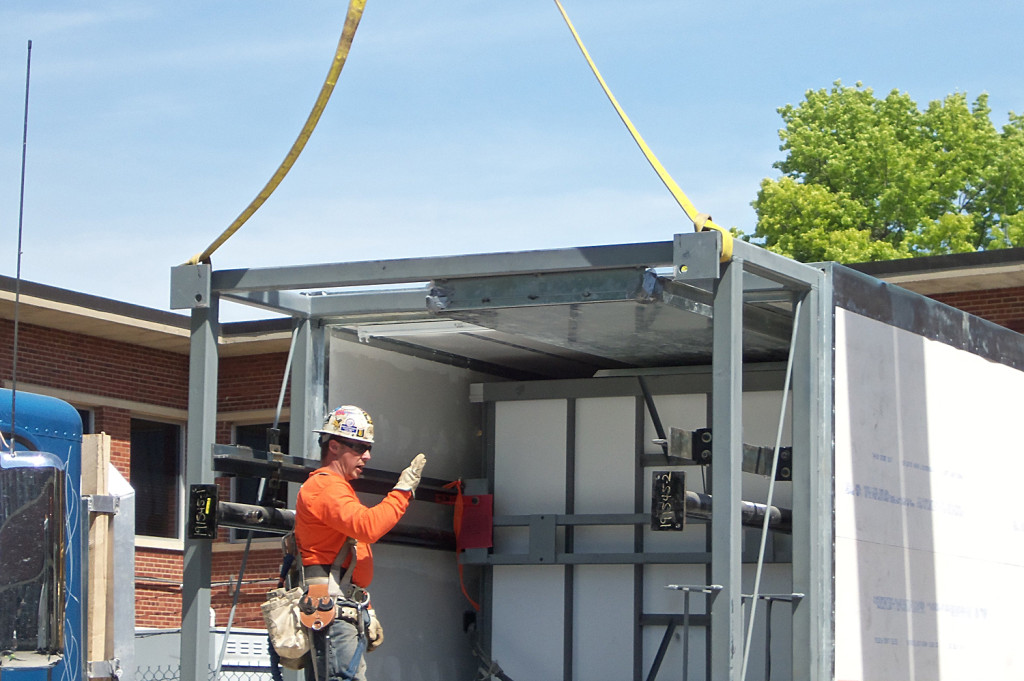
Connection plate rigging: For multi-piece towers, to avoid side-loading standard clevises, we recommend using a forged steel hoist ring, along with the corresponding nut.
Lifting the tower: After securely rigging the top and bottom of the tower, the crane lifts up the tower and the truck drives away. Multi-piece towers have connection plates at the joints and should be rigged with clevises through the 1 3/8” holes.
Uprighting the Tower
Option 1: If 2 cranes, or 1 crane with 2 independently operating hooks, raise up the top of the tower while simultaneously lowering the bottom of the tower for elevator installation: a midair tilt-up. Using two cranes can be more efficient; however, the extra cost is not necessary.
Option 2: If the crane has only one hook, then set the tower on the ground, remove the rigging on the bottom, and then tilt the tower up, pivoting on the base plates. Use boards to avoid damaging the asphalt.
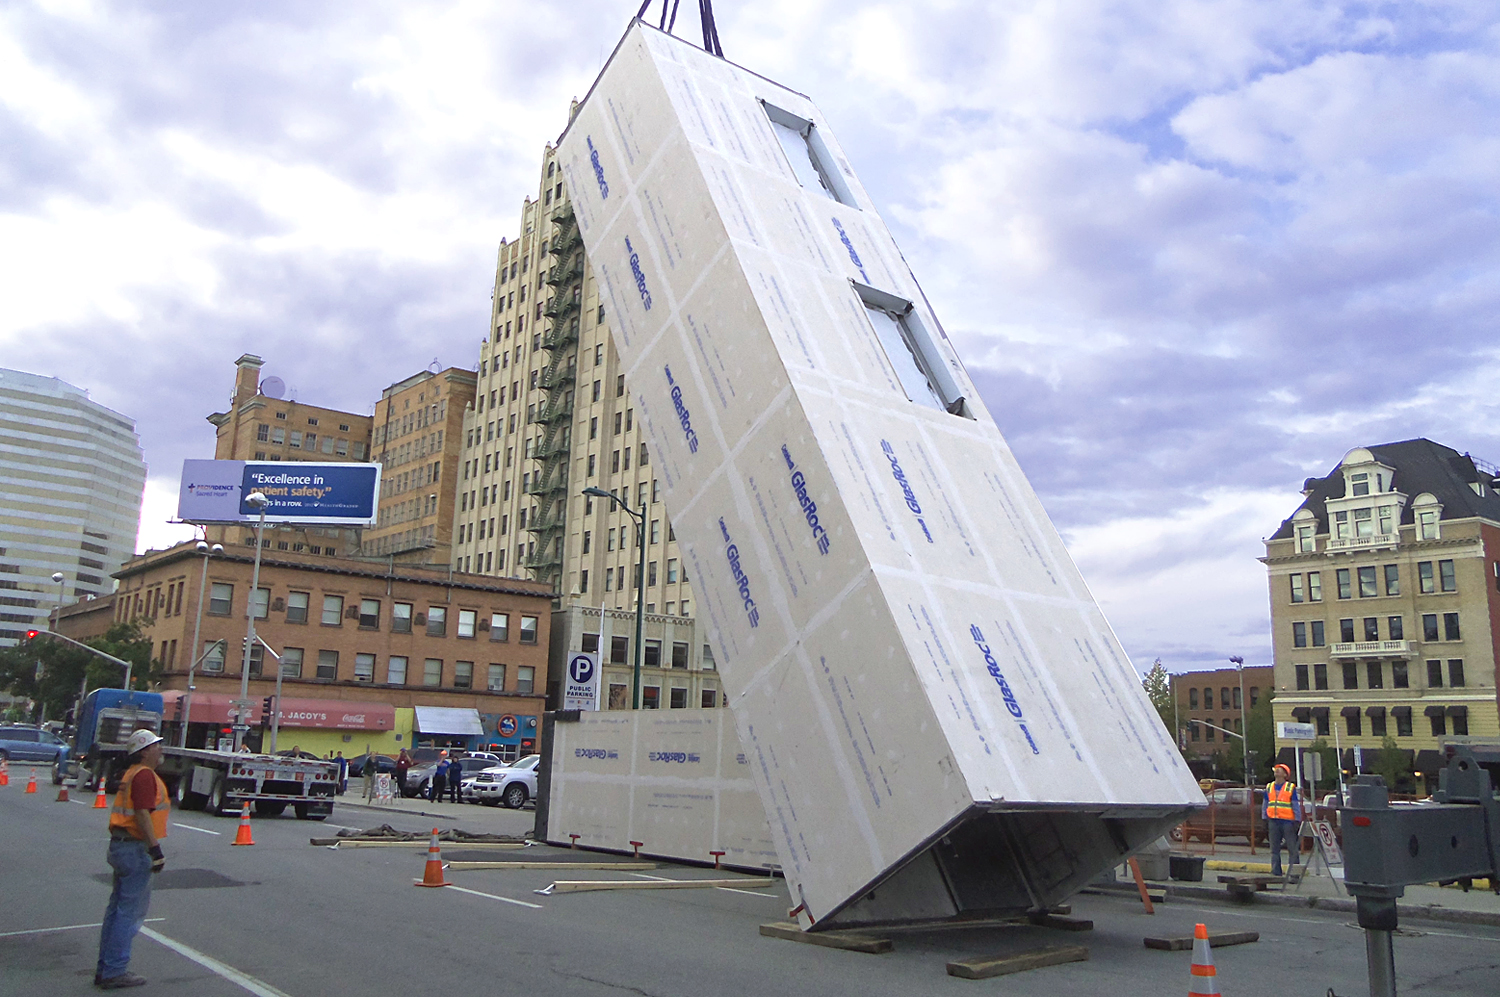
Uprighting the hoistway for installation
Setting the Tower in the Pit
If still attached, remove the rigging at the bottom. Lift the tower up by the lifting lugs and set it into the pit, always being aware of the entrance frames to ensure no damage occurs. As you plumb and level it, there will be some communication between the install crew and the crane to lift up and set it back down.
Remove the top rigging (make sure to have a lift on hand if there is no roof access) and the crane is done.
If the elevator has more than one tower, rig them as indicated, and lower them onto the lower tower. The installation crew will bolt them together. A laser level should be used to make sure they are level and plumb.

