Elevator contractors will find that a modular elevator is the fastest and easiest elevator they will ever install. 

There are no rails to hang, cab to assemble, or unprotected heights to dangle from. We’ve done all the assembly work.


"We're going to sell the s**t out of these modulars."

~Victor L., President/Owner, Advanced Elevator Solutions

Detailed steps to guide elevator contractors through the installation process.

1Obtain Permits
We will supply layout drawings after the customer approves the details of their elevator. Use the drawings to apply for the required permits. All permits are your responsibility. We will give support as needed.
2Meeting and Unloading the Truck

Elevator contractors should check for all the components needed for set-up on the provided checklist and notify the Phoenix Team immediately if anything is missing. It is crucial that you inspect each arriving component of the elevator. There is a packing list that comes with every elevator, and it will also be emailed to you before the elevator's arrival. It is your responsibility to make sure everything has arrived as promised. If something is missing, report it immediately to the Phoenix Team onsite. If the Phoenix Team is not available, contact our project coordinator immediately. Most components are strapped in the area where they are needed. If a modular machine room is ordered, much of the miscellaneous equipment will be found there. If there is no modular machine room, this equipment can be found in the pit or palletized. You are in charge of this equipment once it arrives on site, so we encourage you to leave it in the hoistway until needed.

The truck will arrive with:

  • The modular elevator hoistway with a pre-installed elevator. If a taller hoistway is part of the project, multiple towers will arrive as scheduled.
  • The modular machine room (if ordered) or a pallet with the tank and controller strapped to it
The rest of the “shipped separately” components are strapped inside the hoistway closest to point of use. They are strapped so you can set the tower without removing everything. Unload the modular machine room first (if supplied) and set it off to the side. Rig the hoistway, lift it off the truck and allow the truck to drive away. Remove the shipping brackets from the side of the tower (Phillips head screws), upright the elevator, and lower it into the pit.

Crane Information
3Set and Plumb Hoistway
The hoistway structure is built perfectly square, and the rails are aligned and welded in place. Cast-in-place anchor bolts, or epoxy bolts, if allowed, in the pit are used to secure the hoistway. The hoistway “legs” are 1” shorter than the pit is deep to allow for leveling the hoistway inside an imperfect pit. Once leveled, elevator contractors should use non-shrink grout under the base plates to support them permanently.

Setting the Hoistway
4Set Up the Machine Room
A slab is provided by the GC for a modular machine room. You need to center the machine room on the slab and attach it with GC-supplied epoxy anchors. For a site-built machine room, we will need your help creating a machine room layout. Also, provide PME with a specific length for the travel cable to go from the hoistway to the controller. If we don't receive the length needed, we will assume you are taking care of this yourself. When the equipment arrives on site, mount the power unit and controller in the room and wire them together and to the disconnects.
5Set Hydraulic Lines
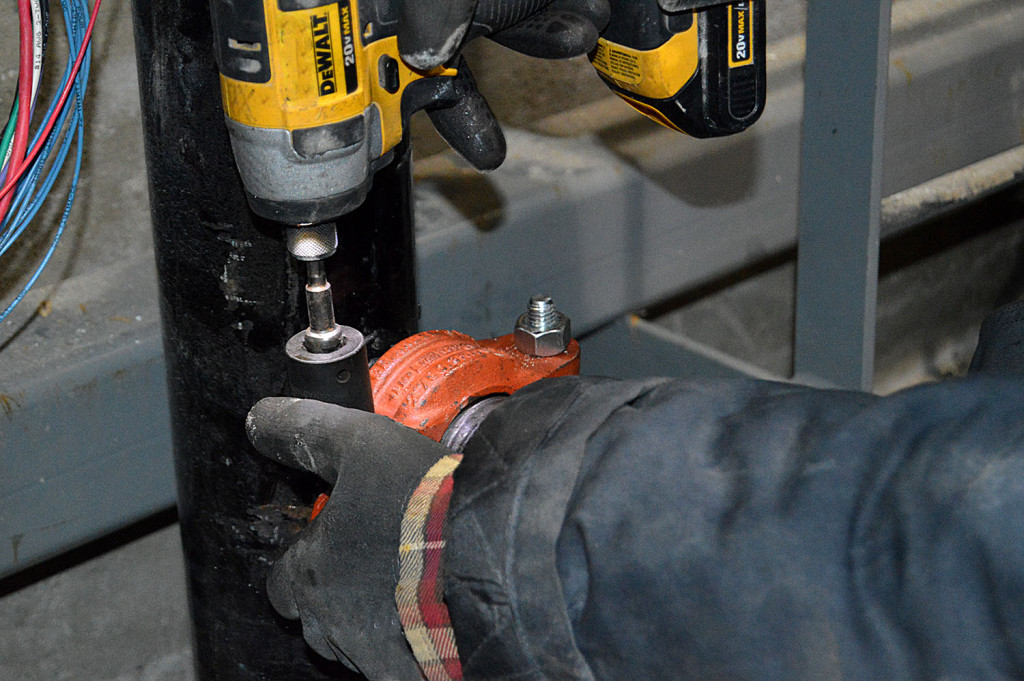
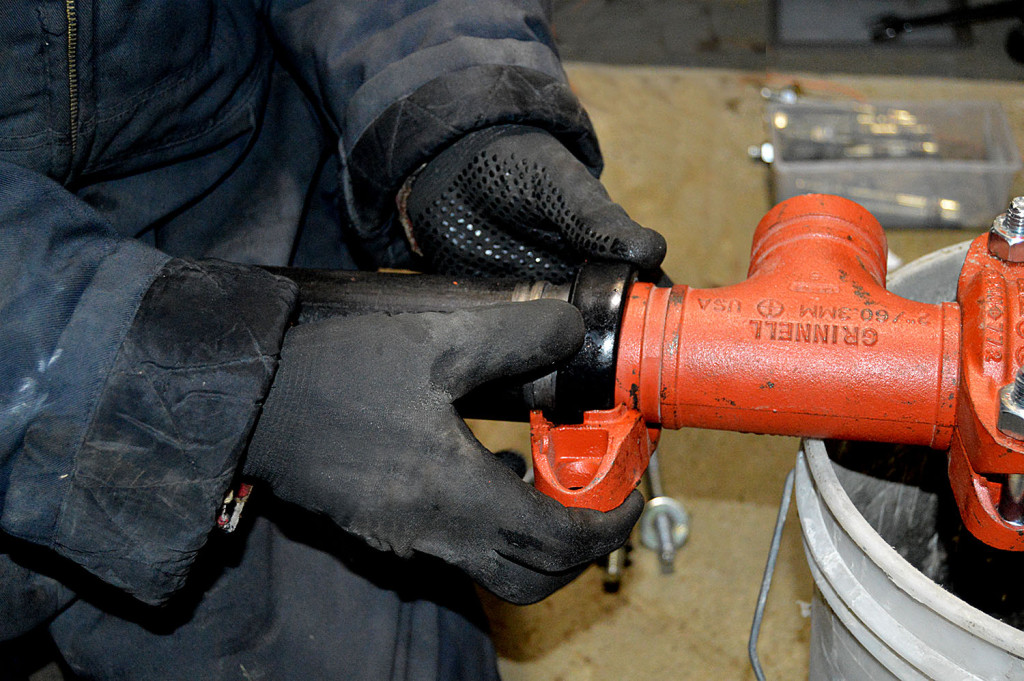
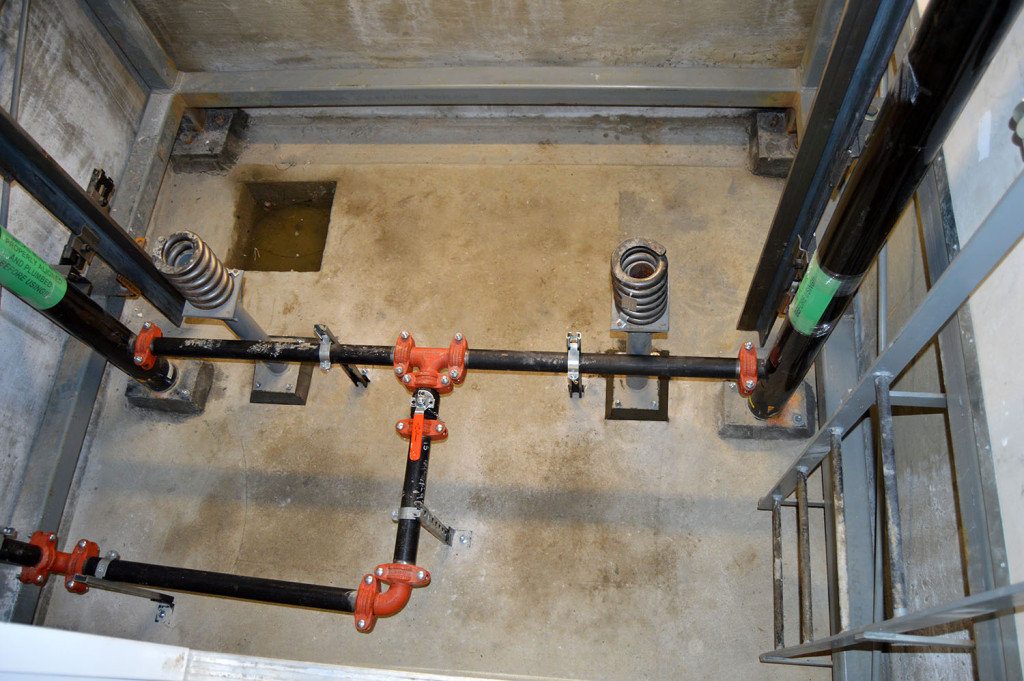
Pipe the jacks to the power unit as with any other hydraulic elevator. When a customer orders an adjacent modular machine room, we provide a pre-cut piping package. One piece of pipe is left long and ungrooved so that you can cut it to a precise length. When the machine room is site-built and/or remote, you supply the piping and fittings per code as well as pipe stands and anchorage. If the machine room is remote from the hoistway, coordinate in advance with the GC on how the piping and cable will be routed. Plan for underground raceways to be set before the pit is poured, and make sure nothing extends past the inside of the pit wall until after the tower is set.

6Connect Wiring
Option A: Near the bottom of the hoistway, you will find the travel cable and hoistway cable coiled up. Unwrap both cables and feed them to the desired exit point, through the raceway to the machine room.

Option B: The traveling cable and hoistway cable are terminated in a junction box at the bottom of the hoistway. Cut the cables to the precise length you need and wire them between the terminal box and the controller. **Extra lengths of cable are supplied upon request from the installer. If no cable lengths are requested, we will place a junction box at the same floor the machine room is on and you will be responsible for everything after, including trough, cable, etc.

With an adjacent modular machine room, all gutter connections are precut and supplied. With a remote modular machine room or a site-built machine room, you supply the gutter and conduit from the hoistway to the controller, controller to power unit, and controller to disconnects.

MMR Piping and Wiring
7Start Up the Elevator
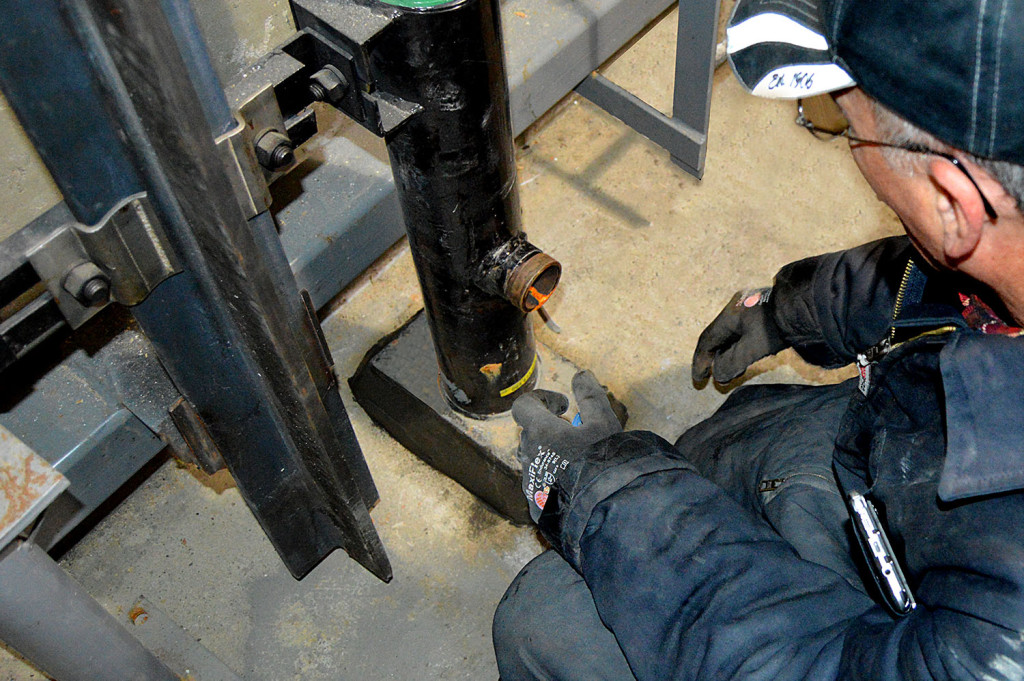
Hydraulic – Ensure jacks are plumb and secured and fill the tank with oil supplied by you. Power up the elevator, remove the bolt attached to the car only (keeping the bolts to the rail in place,) lift the car off of the shipping brackets and ensure no leaking, bleeders aren’t open, etc. Once satisfied, remove shipping brackets from the rails and lower the car. Check for leaks, remove the final shipping brackets, and lower the car. Inspect the jacks thoroughly and replace the packing on the jack. Extra packing is provided!!! Failure to replace the packing will result in a voided jack warranty making you responsible for any additional costs incurred.

Start Up Information
8Test and Adjust Elevator
Perform all normal tests and adjustments as with any other newly installed elevator.
  • Run on inspection
  • Install selector tape
  • Adjust doors
  • Run on automatic
  • Adjust valve
  • Connect and test smoke detector and fire alarm
  • Test all key switches and buttons
  • Connect and test phone line
The elevator has not been powered up in the factory, so full testing and adjusting must be performed in the field. This includes doors, which are installed horizontally in the factory and thus cannot be fully adjusted until they are vertical. Instructions on all equipment, as well as wiring diagrams, are contained in the Project Manual that ships with the elevator.
9Final Details
Place ceiling panels and lights in car. Give GC a punch list of any outstanding items that must be complete prior to inspection.
10Inspection
Schedule and perform inspection. Turn elevator over to customer. A one-year full maintenance agreement should already be in place to preserve warranty.

We hope that the information above will help all elevator contractors with the elevator set-up. It is our goal to make the process as easy as possible. If you have any suggestions or questions, feel free to contact us at your convenience.

Do you have a project where modular seems like the perfect fit? Let us know!

Submit a quick quote request and let us show off our lightning fast quoting skills. Need it faster? Call us and our sales consultants can provide a budget number in five minutes.

Need More Information?