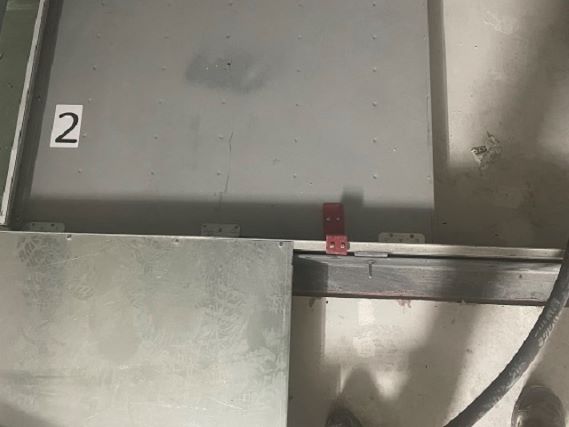
1
Open the Door
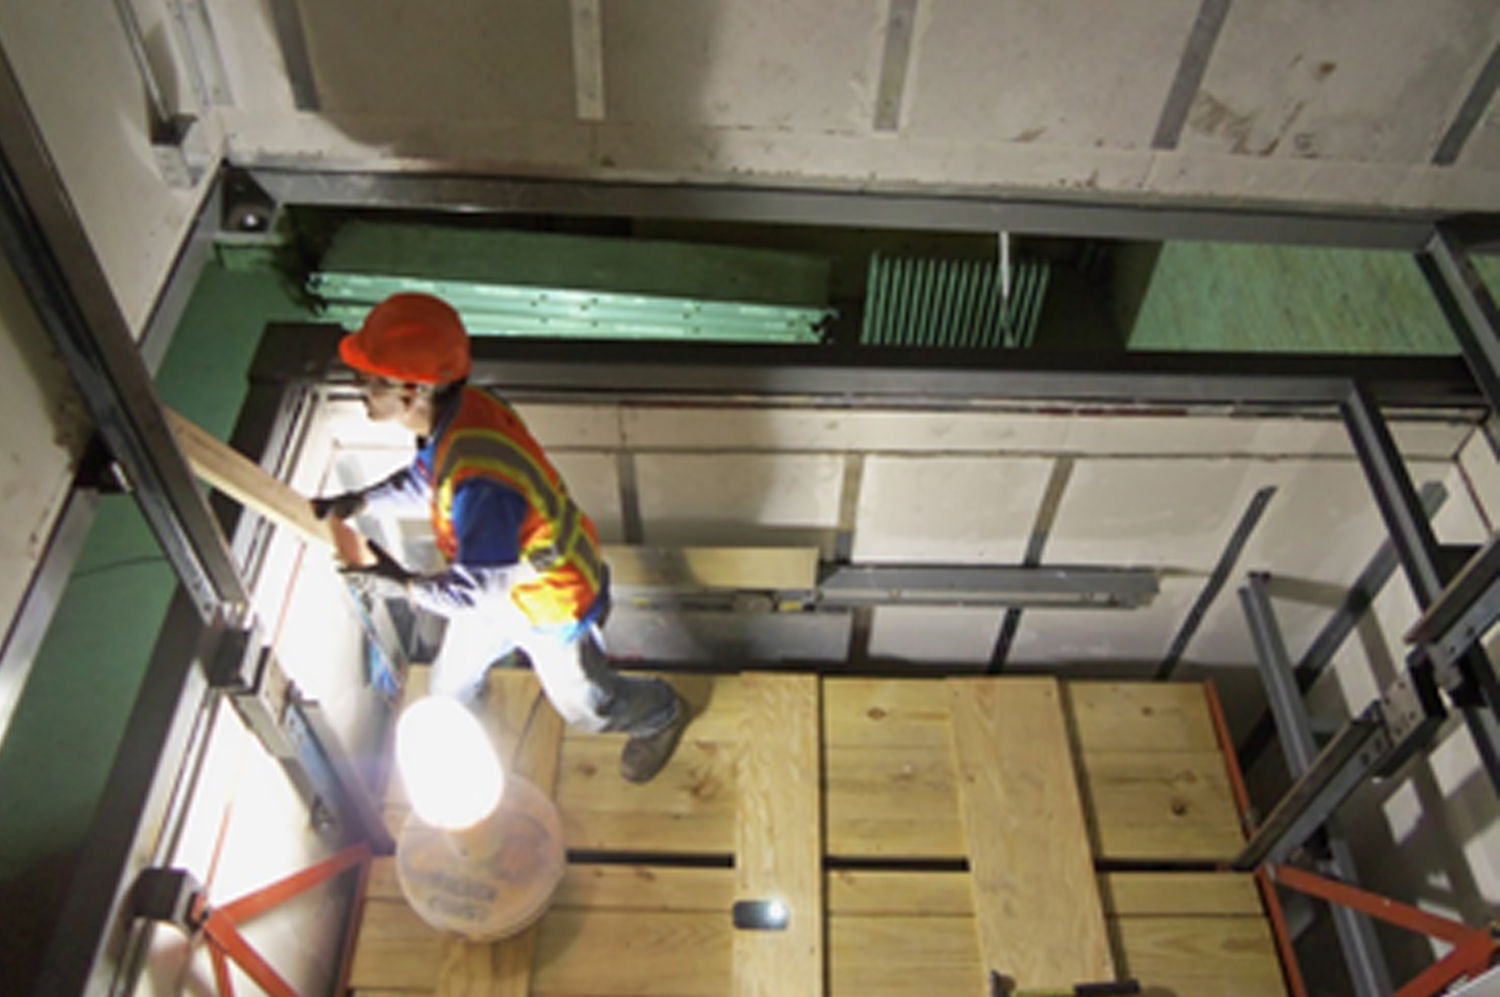
The elevator is shipped with the car in between stops 1 and 2. When the hoistway is partially lowered into the pit, open the door and enter the pit. Reach your arm through and undo the door bracket. The first floor door is left open enough to enter. Find the red door bracket and unscrew it.

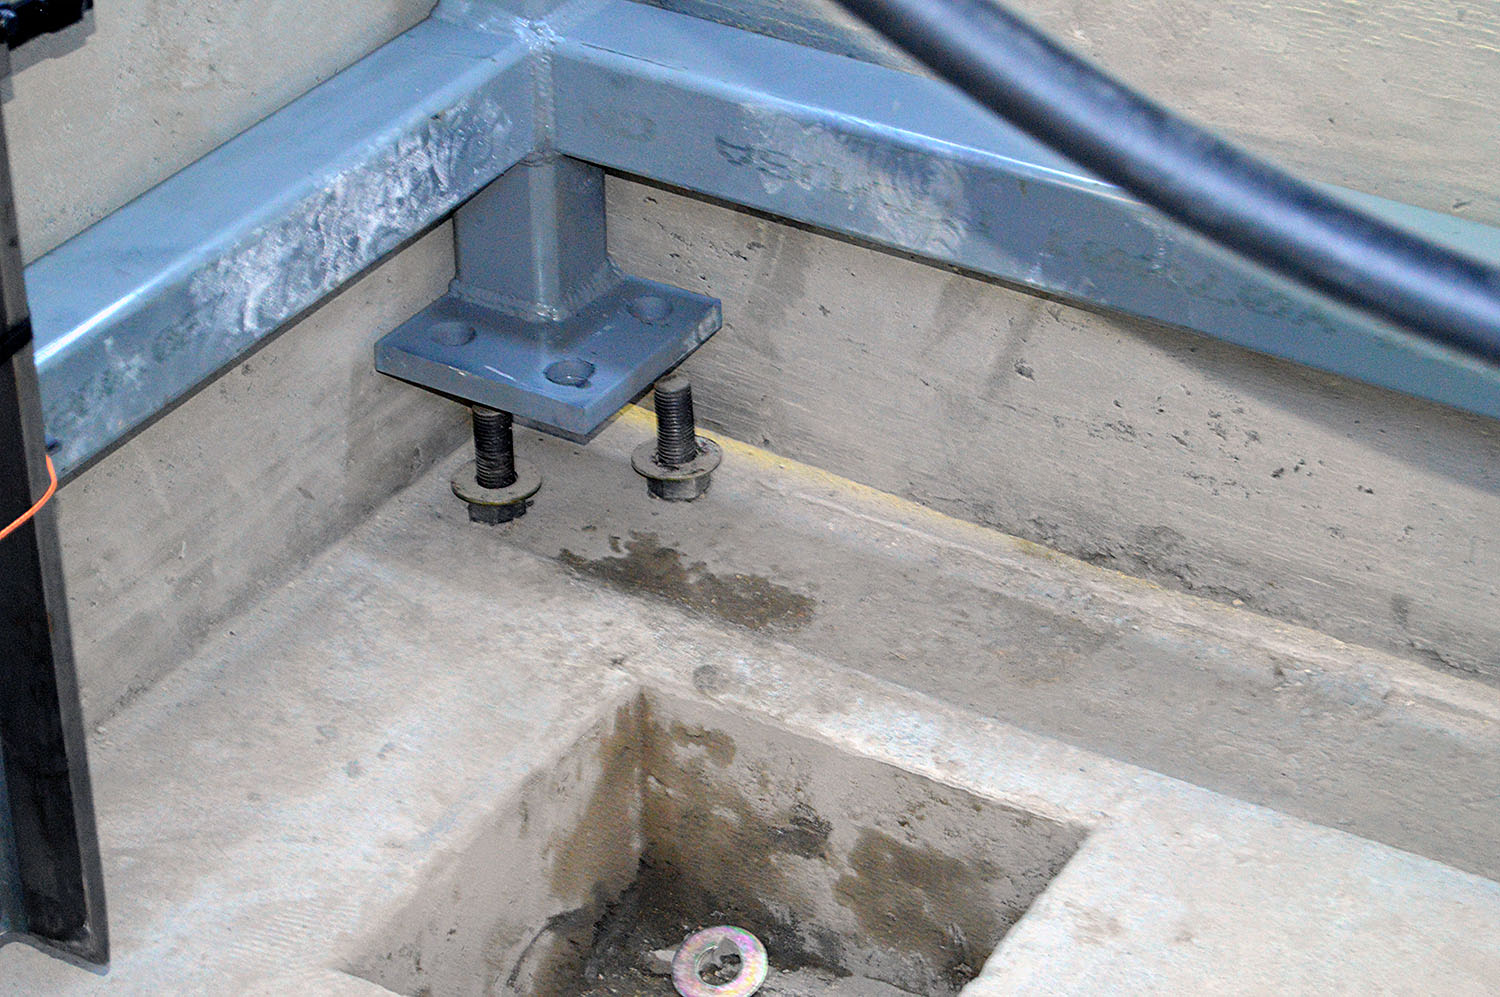
2
Anchor Bolts
There should be one nut and one washer for each bolt. If the pit is any greater than 48", use supplied shims to correct.
3
Lower the Tower
Lower the tower over the anchor bolts until they are resting on the supplied shims.
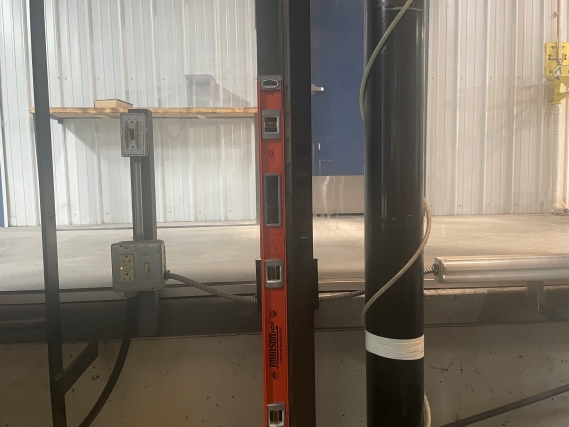
4
Leveling
For a single tower, a 4' level will be adequate to plumb. If multi-piece, a laser level is best.
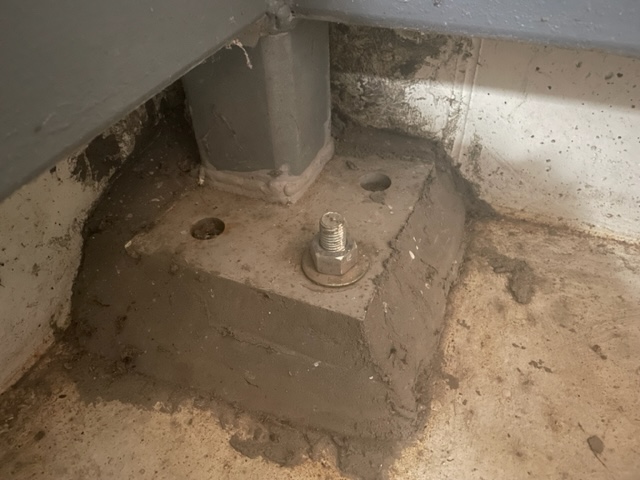
5
Install Washers and Nuts
When the hoistway is plumb, install general contractor provided washers and nuts on top of the base plates and tighten. Then, pack supplied non-shrink grout below the base plates to support them.
6
Bolt Any Additional Towers
If there are additional towers, they simply bolt together. Once bolted together, run a laser level down the rail to verify alignment. Also, our elevators have temporary work platforms at the top of each tower, with nuts and bolts strapped to the rails nearby. From that platform, guide the upper tower onto the alignment pins and ensure the rails seat to each other. Then, bolt the tower corners together and the upper rails to the fishplates.
7
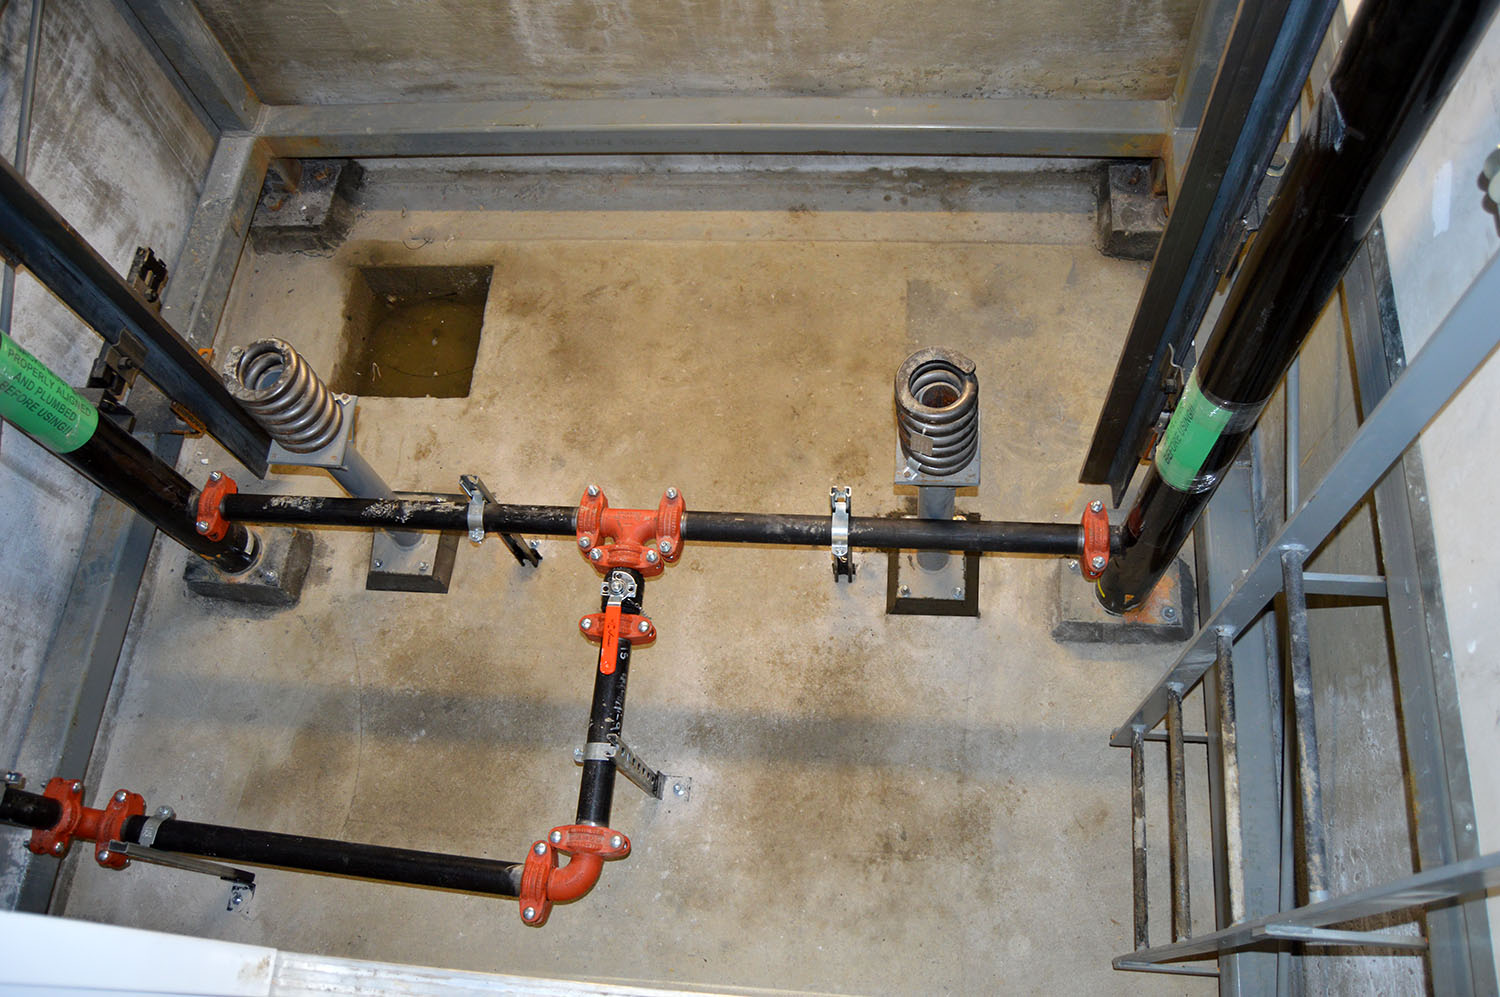
Jacks and Buffer Stands
The jacks and buffer stands should be set the same distance off the pit floor as the hoistway base plates. Use the included steel shims to support them, use concrete anchors to bolt them in place permanently, and grout below.